I don't claim to be an expert in the making of a Silver Spoon Bracelet. In fact this is the very first time that I have ever attempted making one. So my girlfriend Amanda offered to come & learn how to make one as well. Trial and error, and a whole bucket of spoons to allow us to do that. We lucked out on our very first try at one!! Usually its quite the opposite when trying something new & learning. The next 2 we were not so lucky. So here is a full re-cap of our experience....
First of all we needed to heat the spoon up to change the molecular structure of the spoon so that its easier to flatten and pound out with the hammer. This process takes a while depending on the softness of the Silver, and muscle power. I would advise some earplugs for this procedure. Our ear were wringing a little with the sound of the hammer, and cutlery jingling all over the counter. lol.
 |
| Heating it up |
 |
| Amanda Heating the spoon |
 |
| Diana Flattening the spoon |
We used a piece of scrap wood to hammer out our Spoon on, so not to wreck my workbench.
 |
| Using a metal hammer |
The spoon tends to get fairly hot after using the Torch on it a few times to keep the temperature right for manipulation. So a bucket of cold water nearby was handy to use when the spoon was too hot to touch. When you get to the stage of bending & wrapping the bracelet to the size of your wrist, the water bath came in handy.
 |
| Water Bath | | |
|
|
|
 |
| Cracked spoon |
We were working away on a spoon & unsure why it cracked. There could be many reasons why. Too Hot, not hot enough, or that this particular spoon had more Electro Plate than Silver, and it was too hard to flatten.
 |
| In the Vice |
 |
| The last bend |
We used the Vice to start bending the bracelet. Covered it with material, as to not make any markings on the Spoon. For the last part of the bending process, we had to take it out of the vice and do it by hand with 2 sets of pliers.
 |
| Almost finished project. |
 |
| other side |
|
|
|
|
 |
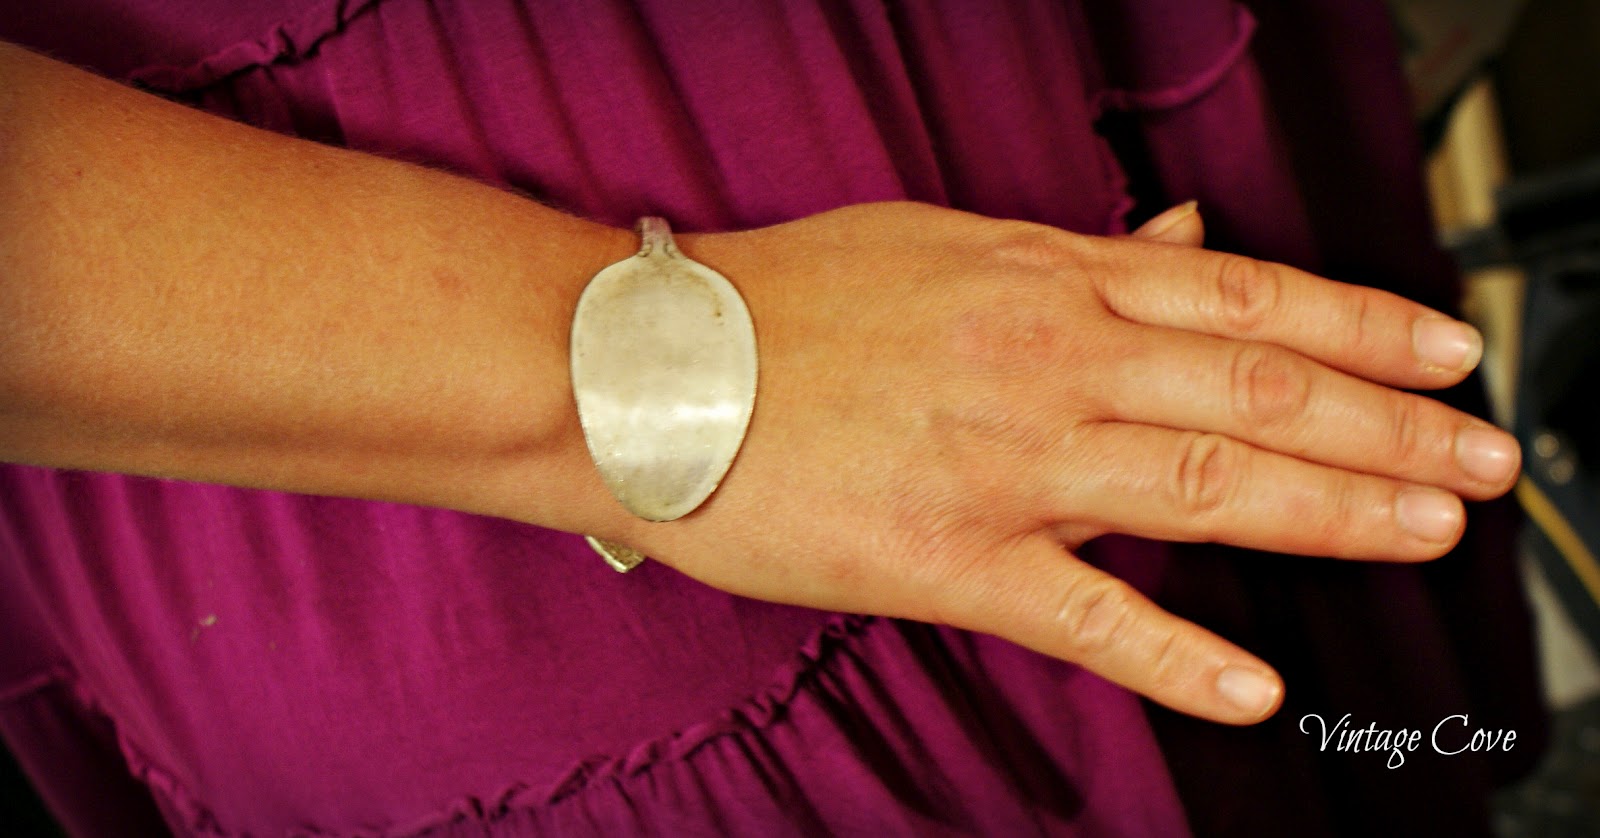
| Finished Product |
The great thing about this bracelet is it could be worn either way. Spoon side up or decorative handle side up.
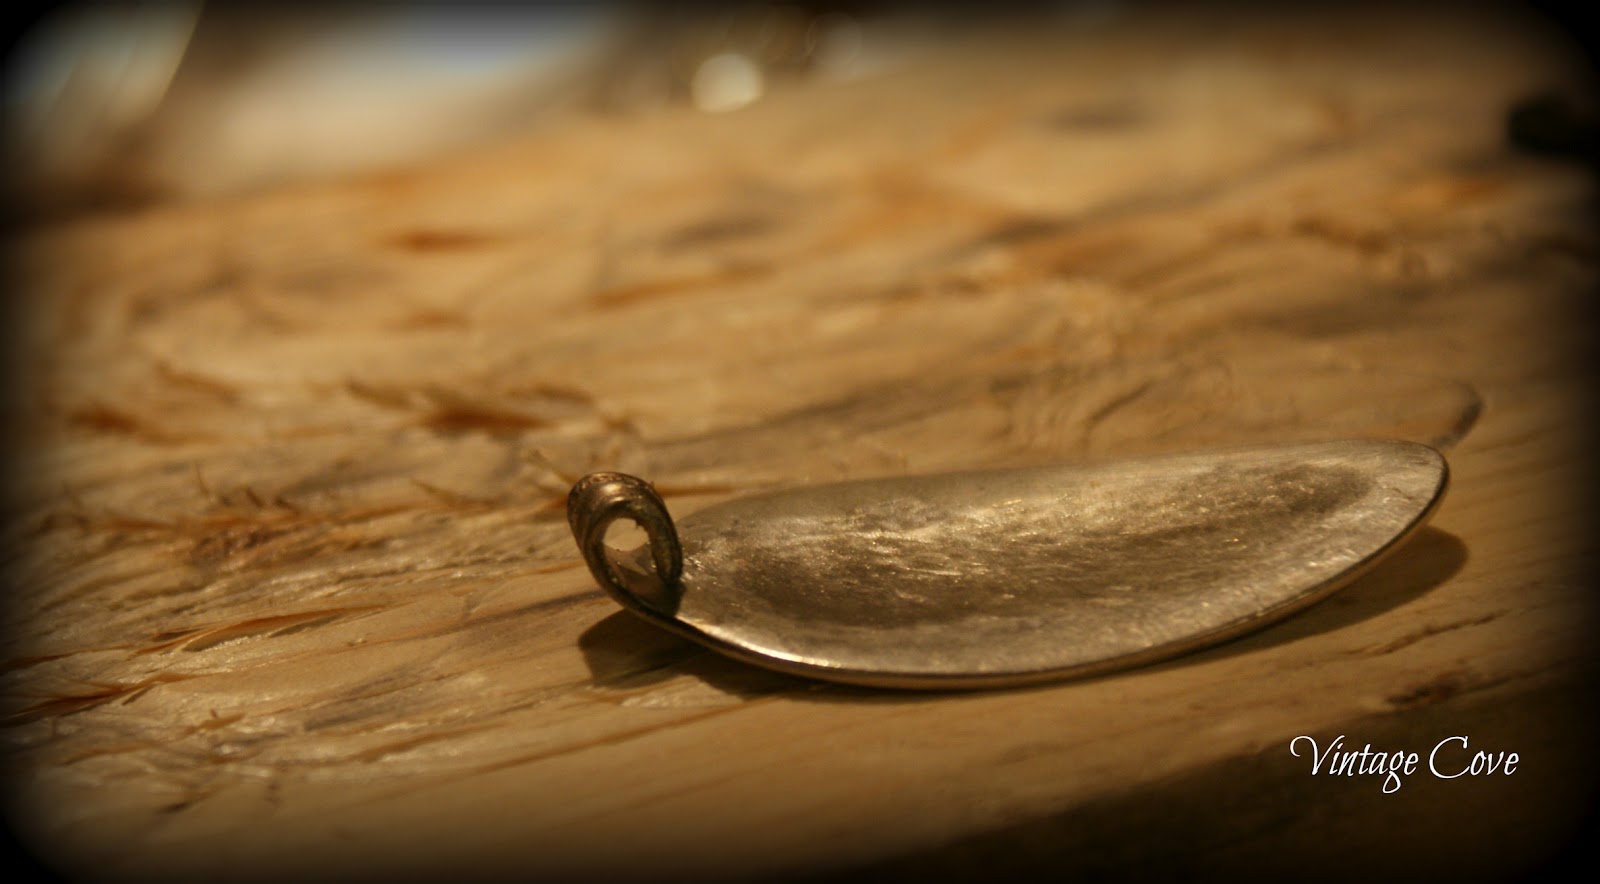
Another idea for jewelry is pendants. After flattening the spoon, cut off the handle with a hacksaw. With a Sanding stone on my Dremel tool, I rounded the edges & got rid of any sharp edges. Then used a brush to soften the sanding stone marks. While its in the Vice Bend it to get the loop for a necklace chain. Buff it and its all ready to wear or engrave.
 |
| Getting rid of some rough edges |
 |
| Pendant loop |
The next type of bracelet I'm going to try making involves this step shown below. You will just have to wait and see what happens with that one.
